Docusign Connector Configuration
- Jose Maldonado
- David Callizaya
- Jimmy Quiroga
Sales Engineering Quick Guide on how to configure the Docusign connectors for e-signature POCs.
Valid for PM Connectors as available on Enterprise editions 3.1.x through 3.3.x
Instructions
On Docusign
URL.- https://appdemo.docusign.com/home
Admin Configuration
A. Create and configure an OAth application from inside DocuSign developers console.
- Login to your Docusign developer account. (https://account-d.docusign.com/)
- On the top menu go to Settings, then in the sub menu go to Integration → API and Keys.
- Click on Add APP / Integrator Key. (Note: If a key already exists, you may be able to use it). Name it ProcessMaker.
- Copy the Integration Key for later
- Choose Authorization Code Grant
- Add a Secret Key, copy the Secret Key for later
- Add a redirect URI like: https://your.processmaker.server/docusign/authorization
- Save the application
B. Configure DocuSign in ProcessMaker
- Go to Admin menu
- Click on
 DocuSign Configuration sub menu
 - Paste the previously copied Integration Key
- Paste the previously copied Secret Key
- Save the configuration
C. Grant Access Code from Admin menu (Optional)
- From DocuSign Configuration click on GRAN DOCUSIGN ACCESS
- Click on Authorize access
- Login with you docusign accound (the owner of your docusign documents and templates)
- Done
Template Configuration
You could use any template you have in DocuSign or create a new one. To create a new template follow the following steps:
- From your DocuSign account go to Templates.
- Create a New Template
- Set the name an a brief description
- Upload a document to be signed
- Setup the recipients
- Save and exit
Connectors Use
A. Send Envelope

| Property | Accept mustache? | Description |
|---|---|---|
| name | Name of the task. | |
| Email subject | {M} | The subject of the email used to send the envelope. |
| Content type |
| |
| Content | {M} |
|
| Recipients variable | Request variable that will contain the list of recipients. You could view the complete structure definition if the DocuSign documentation (recipients) It could be for example a variable recipients, this variable could be loaded with an Script task with a value like (see script example below): recipients = {
"signers": [
{
"recipientId": "1",
"roleName": "signer",
"routingOrder": "1",
"email": "tester@processmaker.com",
"name": "James Tremblay"
}
]
}
| |
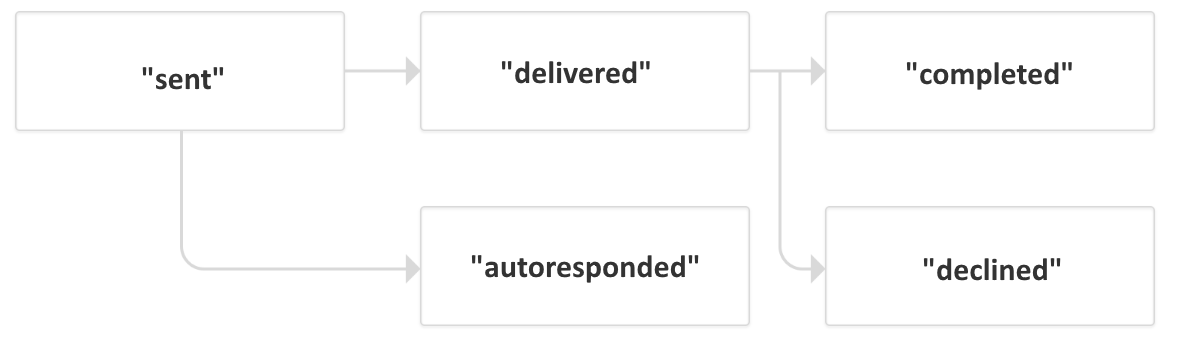
| Wait sign completed | If enabled the connector will wait until the envelope status changes to "completed"
If not enabled, the connector will continue with the process after the envelope is sent | |
| Output variable | Request variable that will receive the response from the connector |
PHP Script Example to prepare the variable recipients:
A. Send Template

| Property | Accept mustache? | Description |
|---|---|---|
| name | Name of the task. | |
| Template ID | ID of a DocuSign template (see the section Template Configuration) You could paste here the ID of the template to use. Or use the | |
| Template roles variable | Request variable that should contain the roles of the template. You could find an example in DocuSign documentation (Signature by email using a template) It could be for example a variable template_roles, this variable could be loaded with an Script task (see script example below): | |
| Wait sign completed | If enabled the connector will wait until the envelope status changes to "completed"
If not enabled, the connector will continue with the process after the envelope is sent | |
| Output variable | Request variable that will receive the response from the connector |

PHP Script Example to prepare the variable recipients:
C. Authorize connector

If you need to use and individual DocuSign Connection by user requestor, instead of configure a global connection, you could use this Authorize connector
Ex.

Related articles